Sticker Generation
Generations
Tips and recommendations about sticker generation, upscaling and background removal.
Prompts
As in every AI model, we cannot exactly predict the outcome of generations, because of that it's best to genereate multiple stickers in one generation so you can pick the most you like. In addition, we have prepared a few tips and recommendations to help you for achieving best results. Understanding how to formulate effective prompts can greatly enhance the results.
Do's
1. Be Specific with Details
Detail drives accuracy. Describe physical attributes precisely. For example, "a plump tabby cat with a mischievous grin" or "A 1920s flapper reimagined as a peacock, feathers flowing into a dazzling art deco dress shimmering with speakeasy glamour"
2. Focus on Pose
Describe what the subject is doing. This helps in generating desired stickers. For instance, "a rhinoceros adorned in botanical-themed knight armor, with rose thorns and green vines, poised for battle"
Don'ts
1. Details about Background/Lighting
You would get better results if you don't include details about background/environment. Since our main focus is to generate stickers we don't want to include any details about background or lighting, and instead have a solid color background. You don't need to add specify solid background or anything like that as we add it as system prompt.
For example keywords like "natural lighting, soft shadows, in garden" are really strong in model and can significally alter the output. So refrain using any background/lighting related keyword.
Reference Images
You can optionally add a reference image for your generations. Reference images guide AI model based on your reference image. After you add the image, you would need to select "Subject" or "Style" on the form.
a. Subject Reference
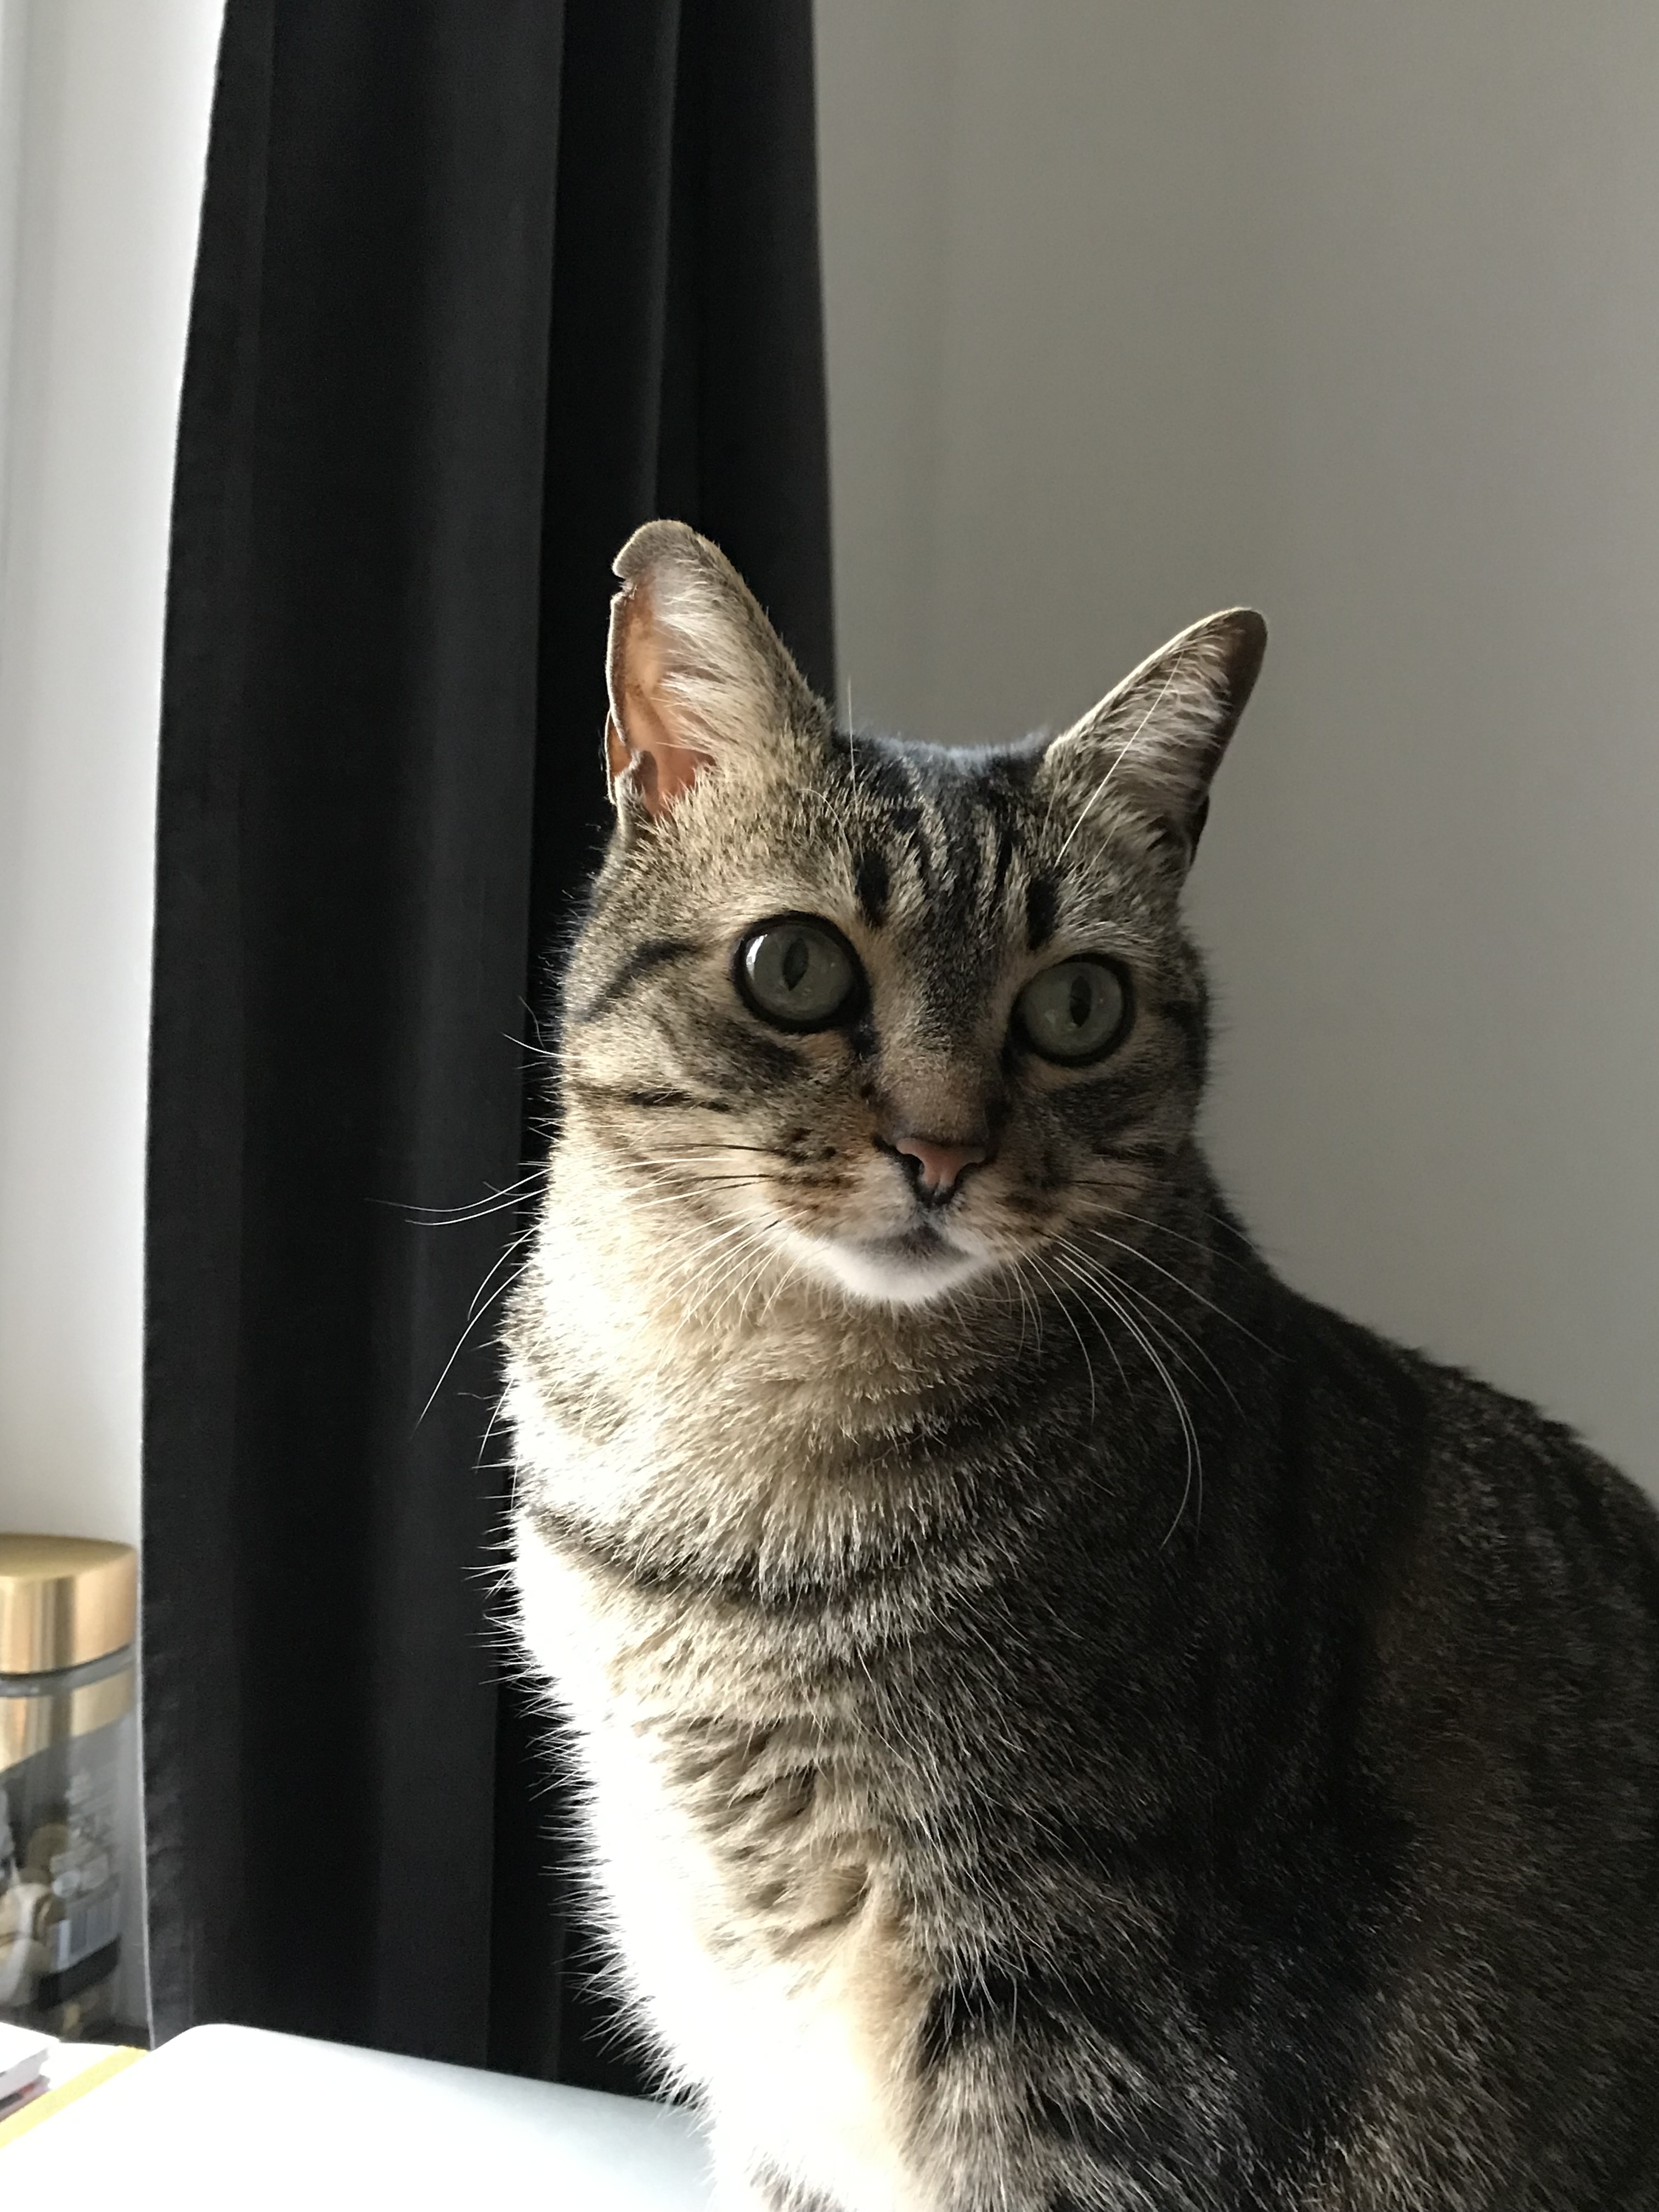
Subject reference image is used for guiding AI to have similar looking subject in the stickers - which you cannot do alone with prompt. For example you might want stickers of your pet. You should use a good quality image of your pet and type a matching prompt - e.g. "a cat wearing lumberjack shirt and holding an axe".
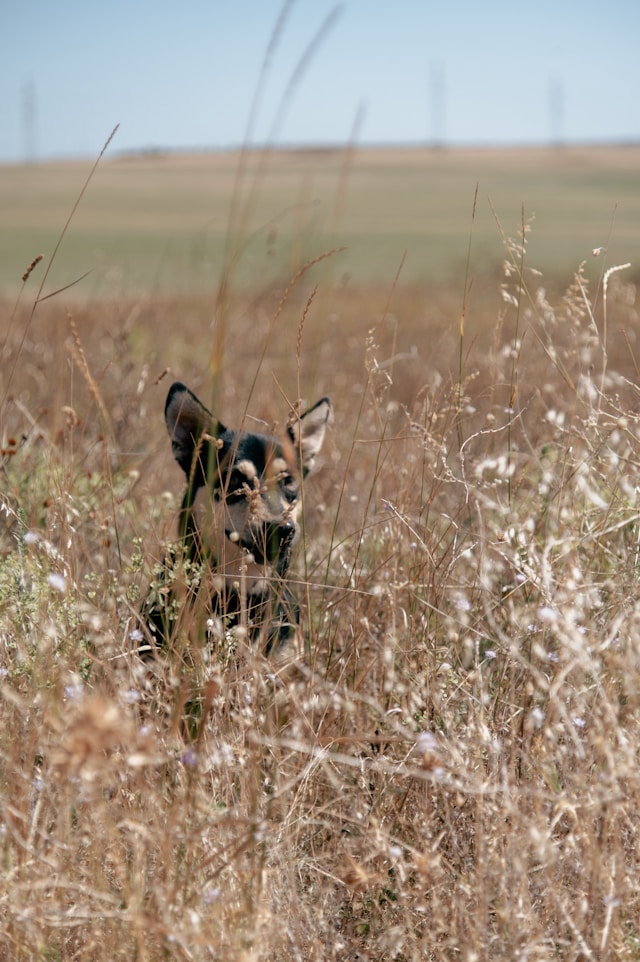
It's really important to have a good quality image with a good angle where there is only one subject (pet, yourself, etc.) in the image. Otherwise you might get unexpected results.
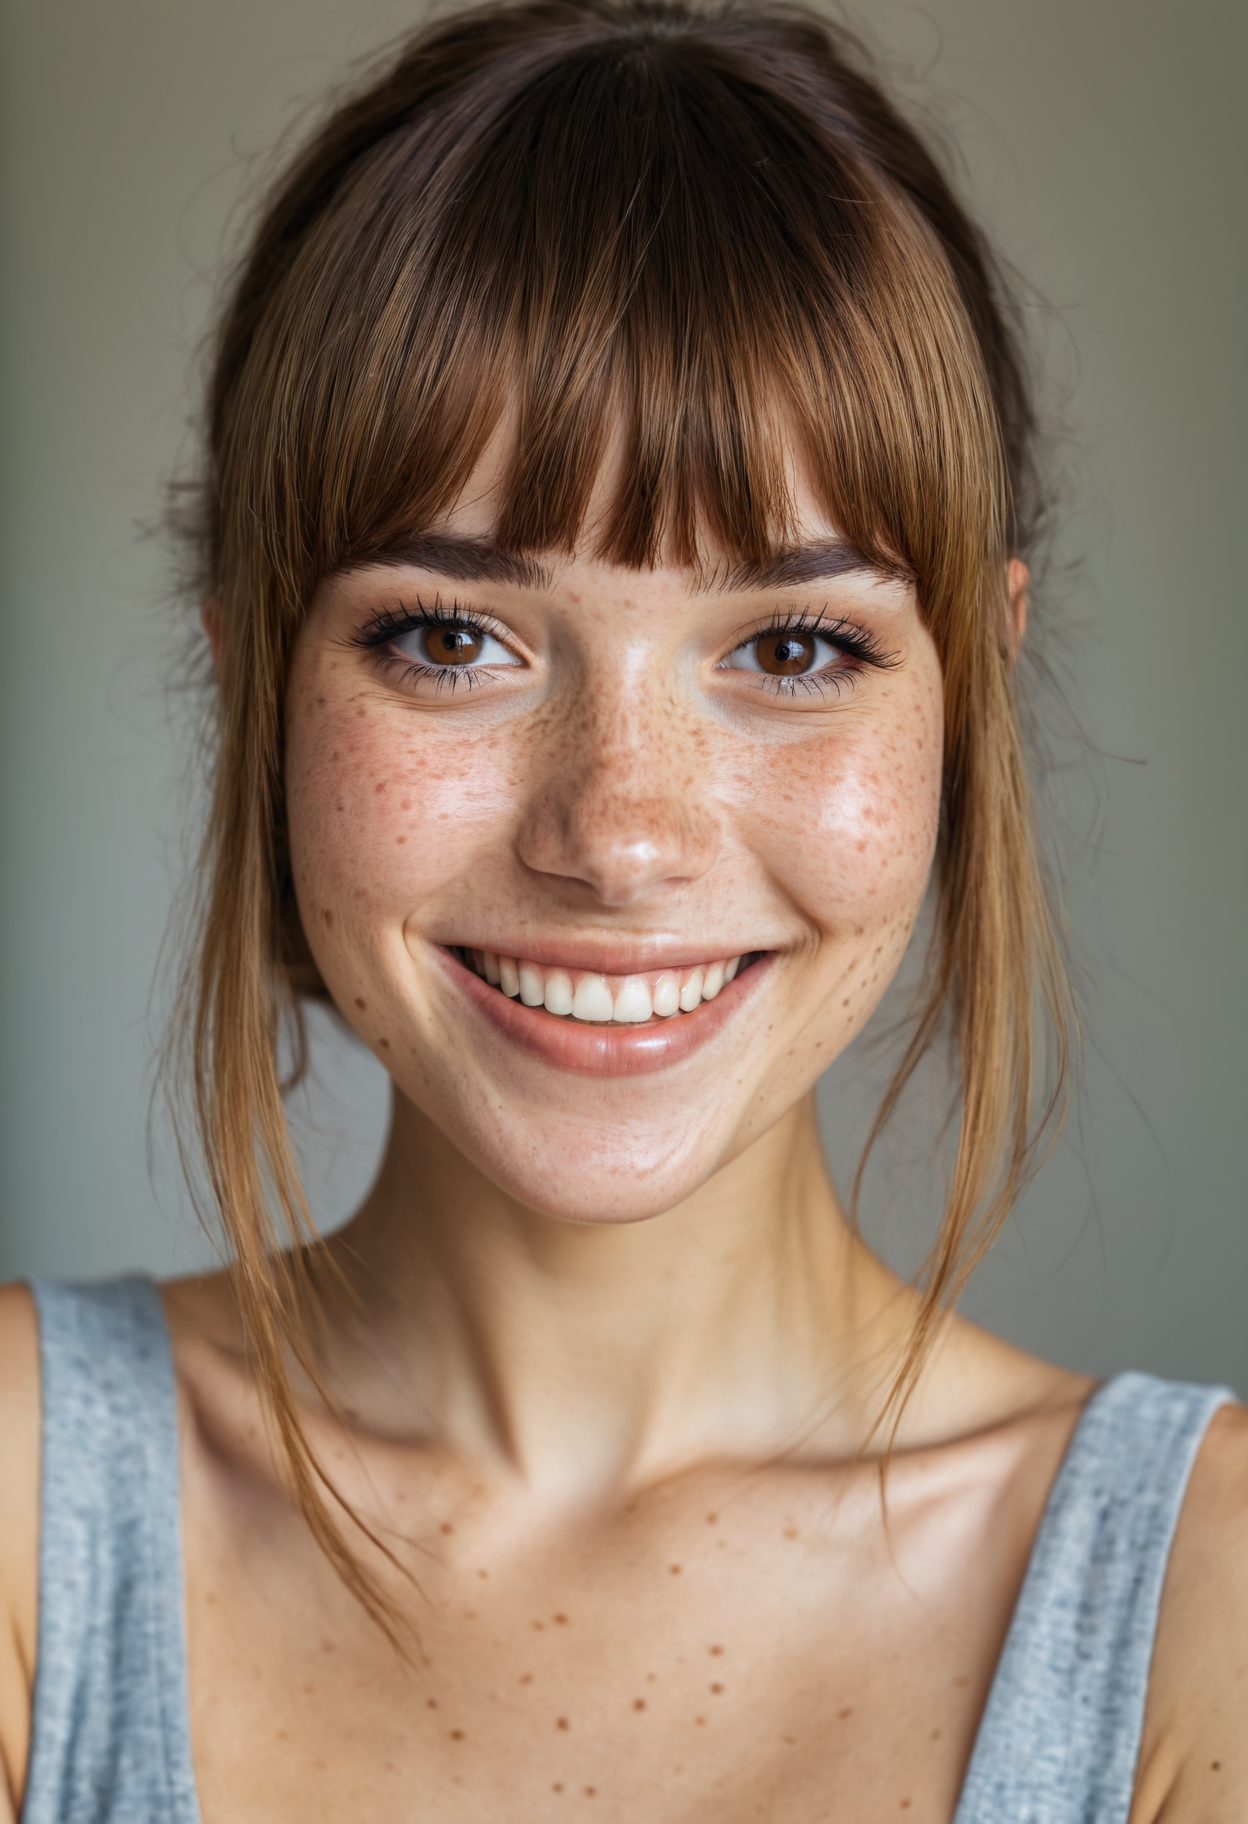
Since you are providing a reference image for your subject, you don't need to describe physical attributes of your subject in your prompt. For example if you are using a image of a man with blonde hair, you don't have to write "man with blonde hair" in your prompt. Of course you can add it but it might confuse the model if the description in the prompt and reference image is not matching.

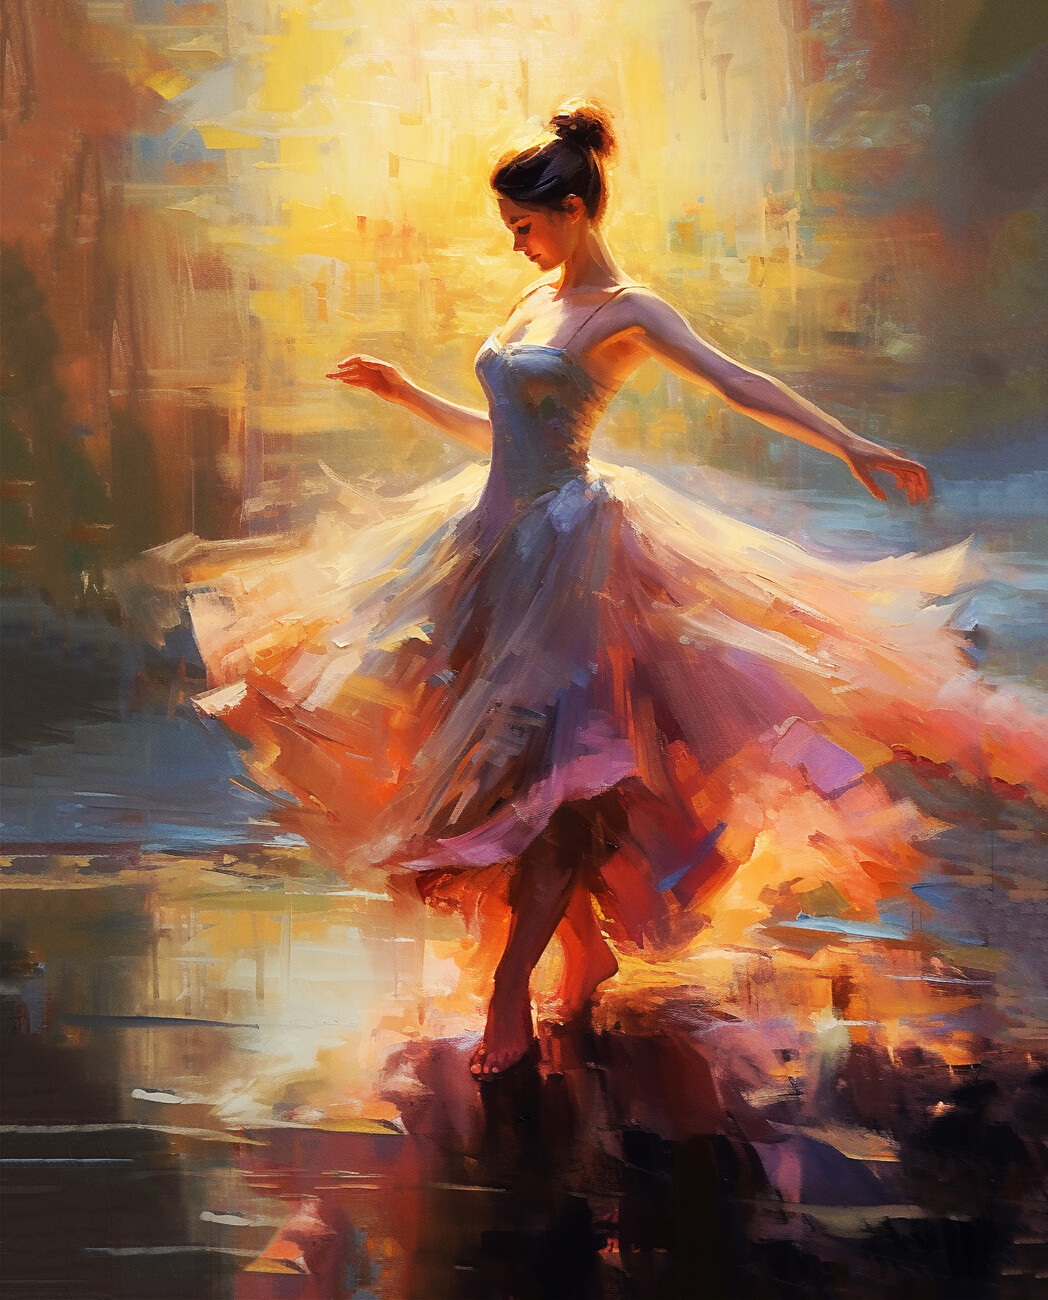
b. Style Reference
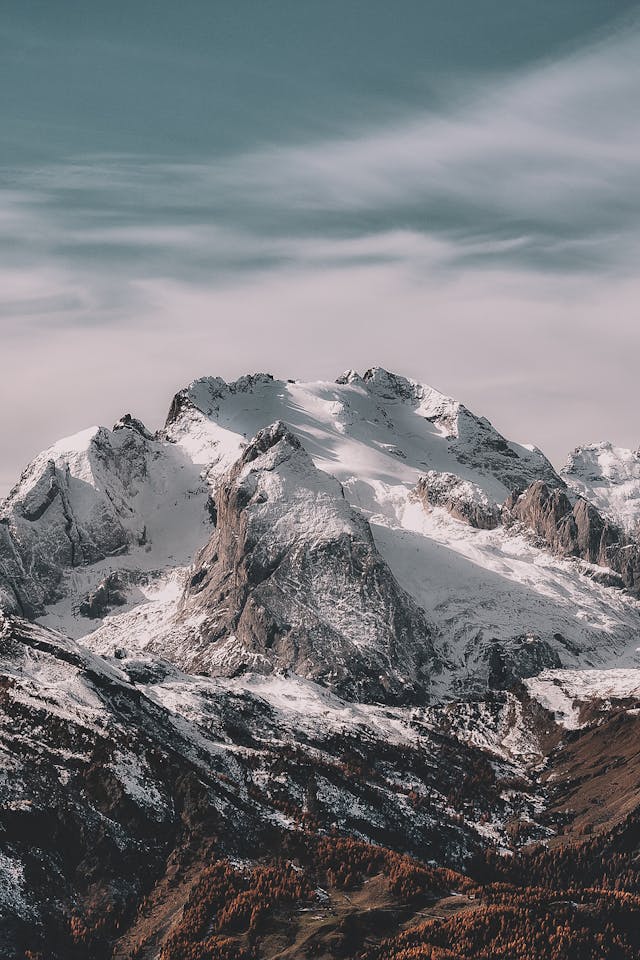
Style reference image is used for guiding AI to generate stickers with artistic aspects of the given image. This is useful when you cannot quite define what's on your mind or when you want to copy a look of an image you like. As an example, you might want stickers with a style/look of famous painting; you can add the painting as reference image and type your prompt - "a dancing teapot with googly eyes" or "a cute house with a rainbow arch behind"
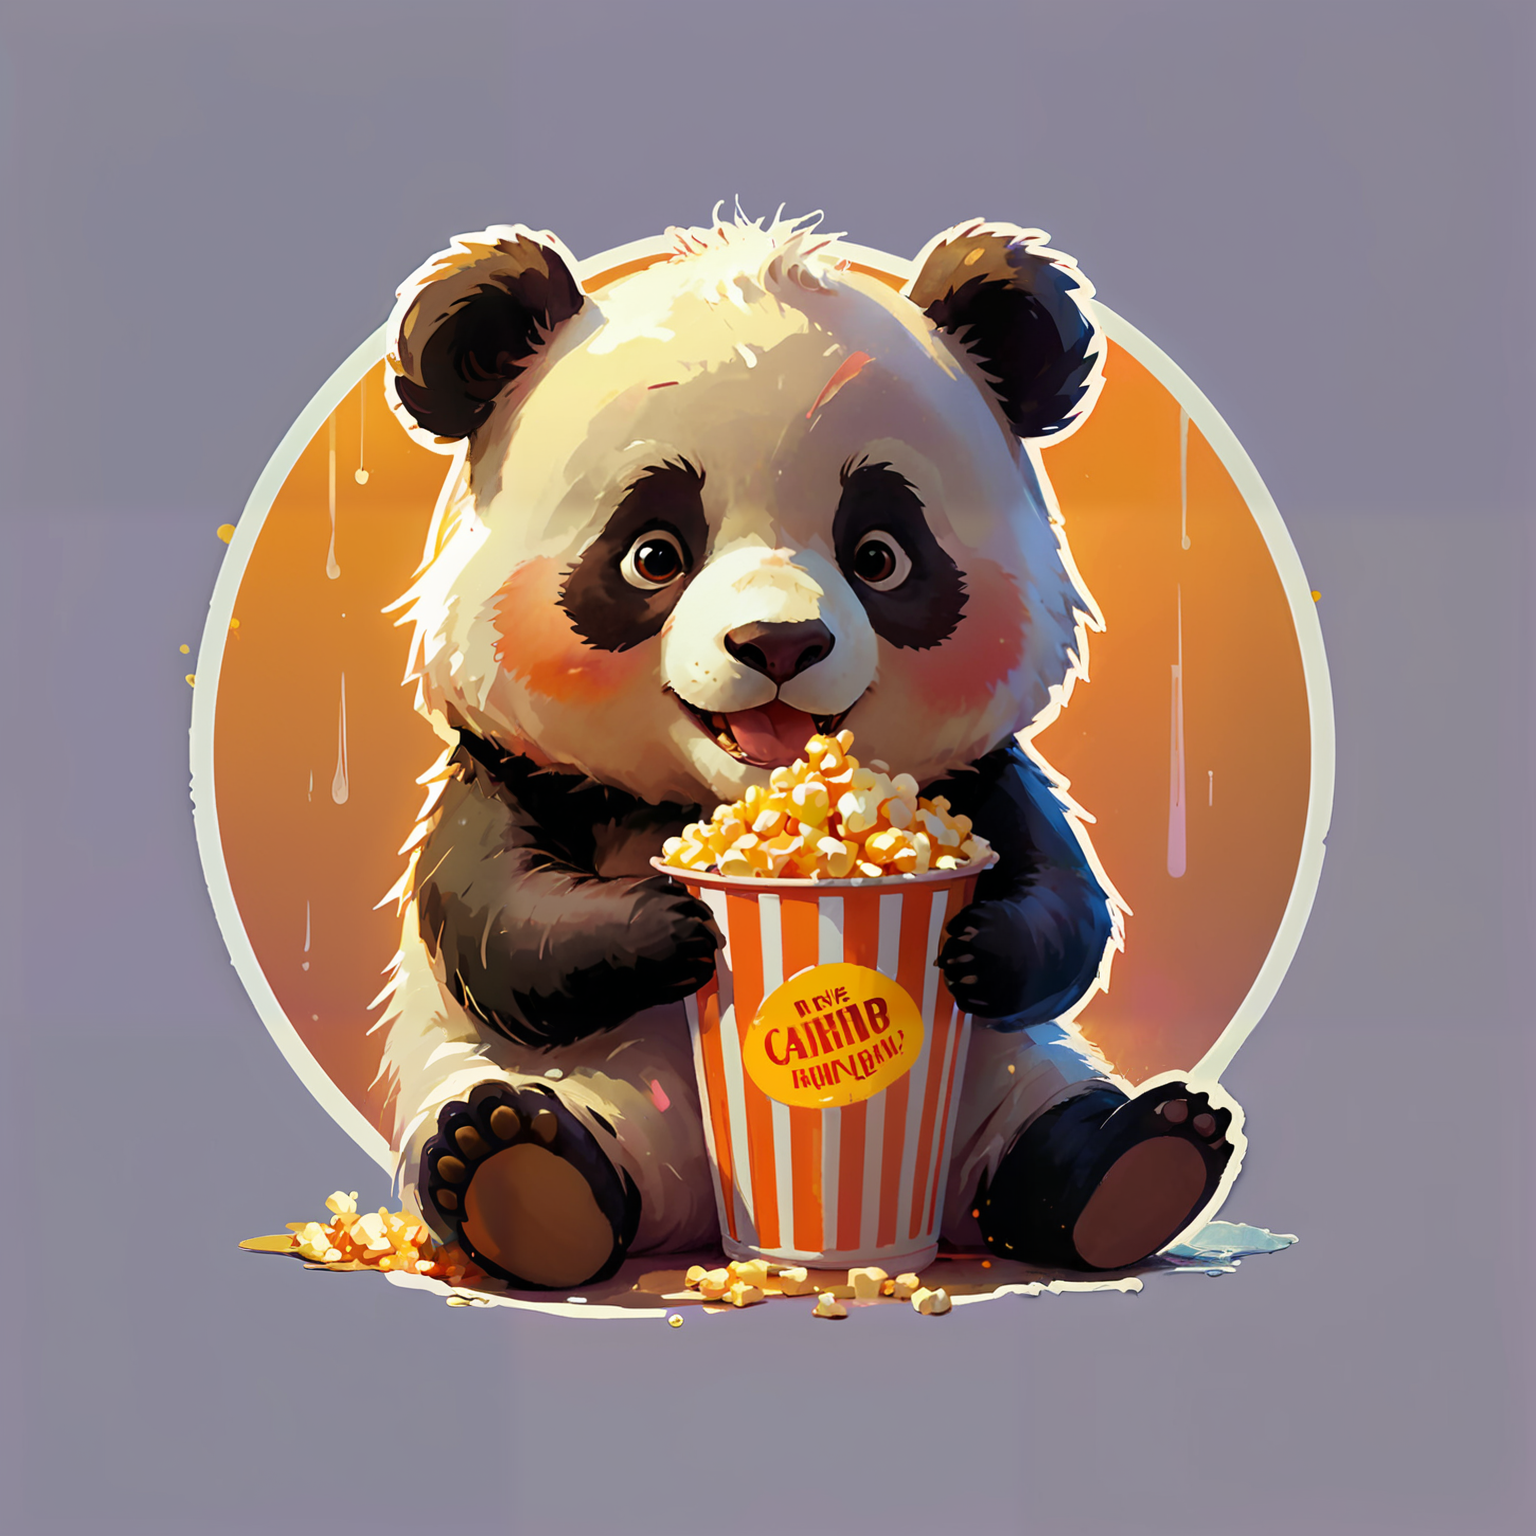 a cute panda eating popcorn
Note the artistic style, colors and textures of the output, it has elements from reference image even though prompt only contains information about panda.
Style
Styles can be used to add predefined "style prompts" to your promt to guide AI to specific sticker style.
Upscaling
By default we generate stickers with 1536x1536 resolution. This should be enough for most cases, but if you need stickers with higher quality we got you covered. You can scale your generated stickers up to 4096x4096 resolution. This will be good enough for physical prints up to 13.65 inches (in case you need reaaaly big stickers!). Here you can learn more about physical prints.
You can upscale stickers by going to the generation details and clicking hamburger menu on the sticker you would like to upscale. There you would see "Upscale" and when you click it will open a page where you can select target resolution and that's it!
Please note, upscaling process might make small changes on the original image, as we regenerate some parts of it to keep the image crips and high-quality. We also do not recommend upscaling background removed images as upscaling process will regenerate the background.
Background Remove
You can remove background of the any sticker to make it look like more "stickery". To do that go to the generation details and click "Remove Background" option in hamburger menu on the sticker, this will start the removal process right away.
Note: Sometimes background removal can make mistakes, especially if there are details in the background of the image.
Generally we recommend to have a generation flow like following:
- Generate stickers
- Upscale the ones you like
- Remove background of the upscaled stickers
- Share & Print!
Stil have questions? Contact us at: [email protected] and we will try our best to help with your prompt.